
A bird in flight is the hardest and most rewarding picture in bird photography. The bird moves fast, the light changes, and you have about a second to get it right. But it is also a skill you can learn. In this guide, I share what has helped us, in plain words.
Start with big, slow birds
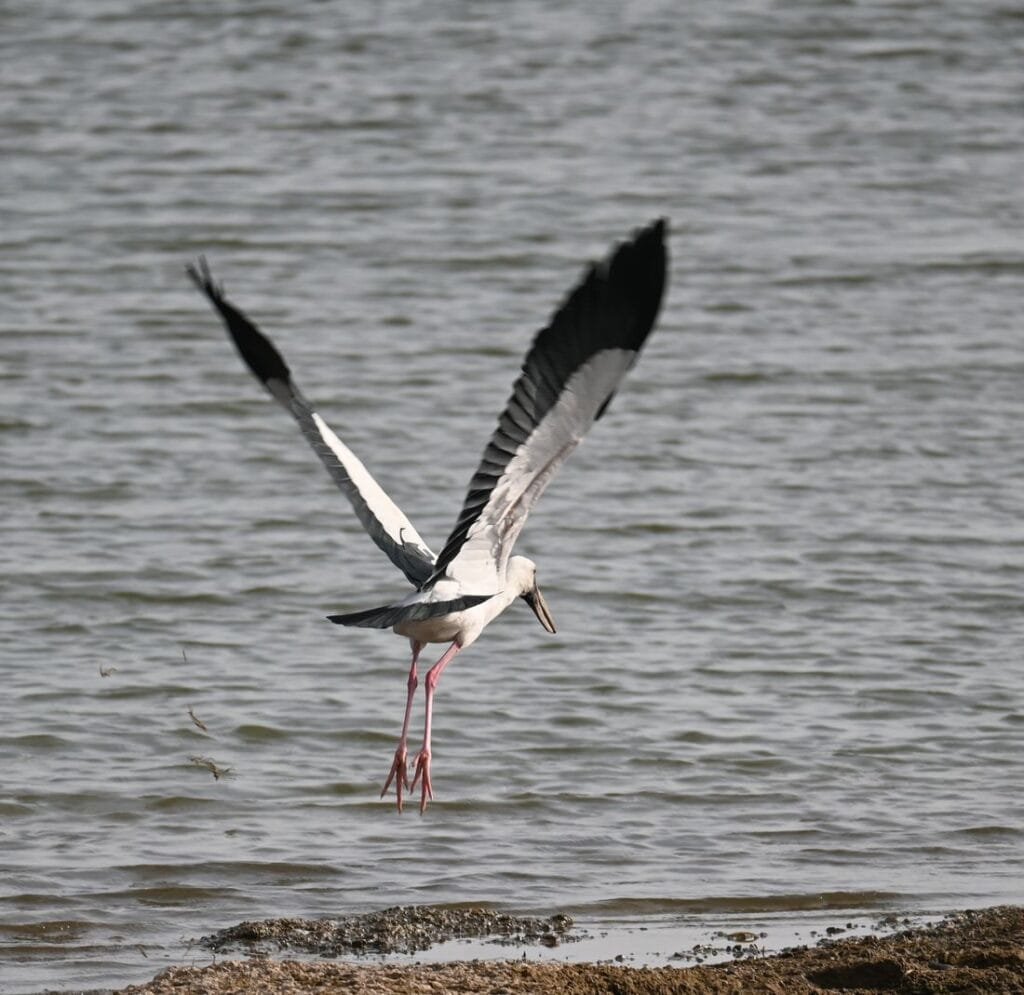
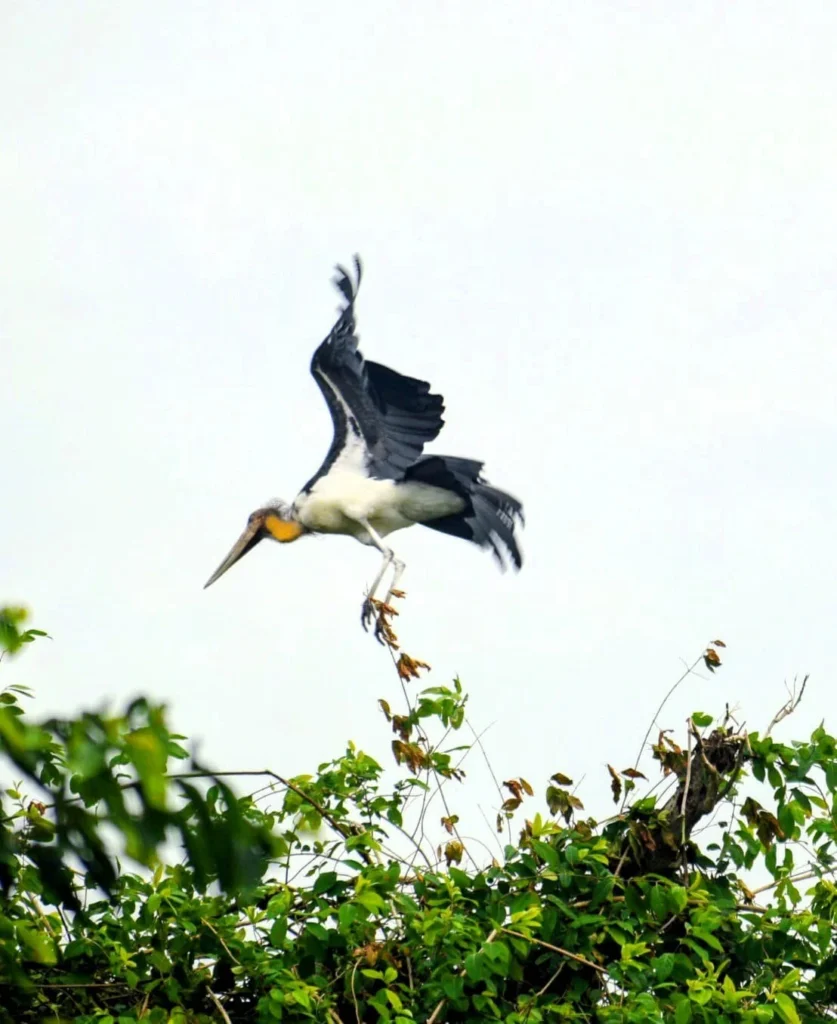
Do not start with a kingfisher. Start with big birds that fly slowly: storks, herons, egrets and cormorants. They take their time, their wings are wide, and they are easier to follow with the camera. At Jawai and Tadoba, we practised on openbill storks, lesser adjutants and egrets.
The camera settings
| Setting | What to choose | Why |
|---|---|---|
| Shutter speed | 1/2000 of a second or faster | Wings move much faster than the bird does. |
| Focus mode | Continuous autofocus | The bird keeps moving, so the camera must keep refocusing. |
| Tracking | Bird or eye tracking, if you have it | It locks onto the bird and follows it. |
| Burst | Fastest burst | One press gives many frames. You keep the best. |
| ISO | Auto ISO, and let it go high | A fast shutter needs light. A sharp noisy photo is better than a clean blurry one. |
How to follow a bird in flight
- Find the bird first. Look with your eyes, not through the lens. Then bring the camera up.
- Lock on early. Start tracking before the bird reaches the best spot. Do not wait until it is close.
- Follow smoothly. Turn your body, not just your arms. Keep the bird in the same place in the frame.
- Keep both eyes open. You can see the bird and the sky around it. That helps you not lose it.
- Press and hold. Start the burst a little before the moment you want, and keep going a little after.
Read the bird before it flies
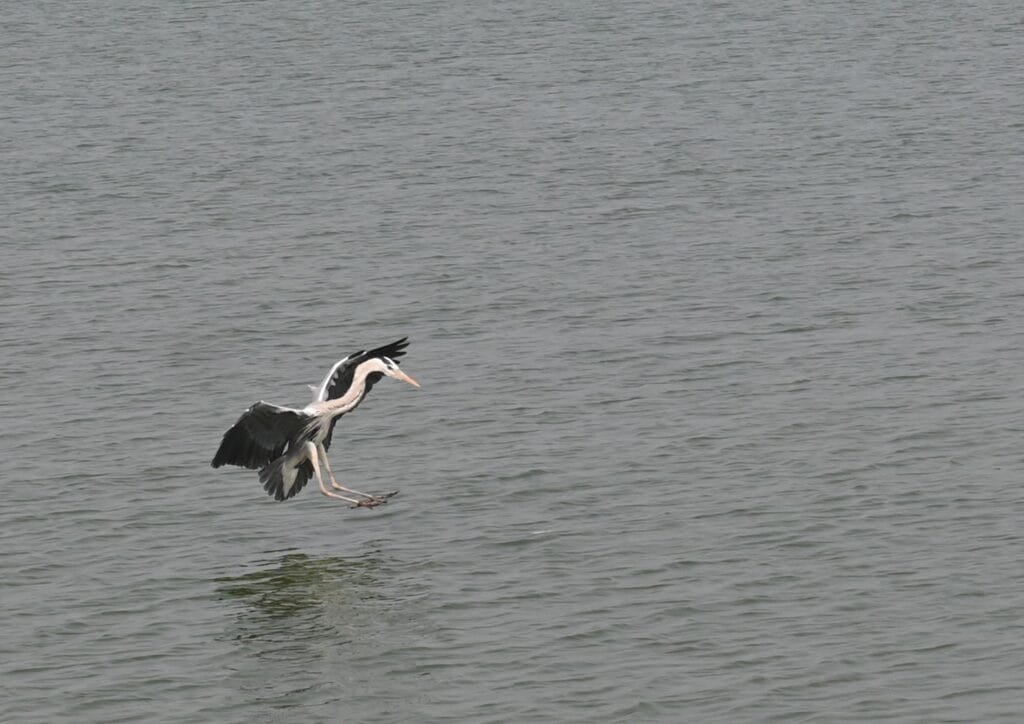
Birds give signals before they take off. A bird crouches. It lifts its wings a little. It stretches its neck. It looks around. When you see these signs, get ready. For landing, watch where the bird is circling. It will usually land near the place it looked at before.
If you know the bird, you know the signs. That is why learning one bird well helps. See Bird Photography for Beginners.
Light and background
- Keep the sun behind you. It lights the face and the wings.
- Look for a clean background. A plain sky or still water is the best.
- Watch the exposure. A white bird on a dark background can lose its detail. A dark bird against a bright sky becomes a silhouette. Adjust the exposure so you can see the feathers.
- Go early or late. Soft light gives better colour and a better chance of freezing the wings.
Common mistakes
- A slow shutter. Even 1/500 will blur the wings of most birds.
- Waiting too long to start. Begin tracking early.
- Moving only your arms. Turn your whole body.
- Missing the head. If the head is sharp, the picture works. Aim for the head and eye.
- Giving up too soon. Most frames will fail. A few will be great.
Practise on the ground first
You do not need to go far. Practise with birds near you, like crows, pigeons or egrets near a pond. Follow them with the camera without taking a photo. When it feels smooth, add the shutter. The more you do it, the easier it gets.
Be kind to the bird
Never scare a bird into flying. A bird that takes off because of you is wasting energy it may need. Wait for it to fly on its own. No flash, no recorded calls, and keep your distance from nests.
Where to try
Wetlands are a great place to start. See Bird Watching in India: Where to Go and When and our bird photo gallery for places and pictures.
Questions people ask
What shutter speed is best for birds in flight?
1/2000 of a second or faster for most birds.
What focus mode should I use for flying birds?
Continuous autofocus, with bird or eye tracking if your camera has it.
Which birds are easiest to photograph in flight?
Large, slow birds like storks, herons and egrets.
Why are my flight photos blurry?
Usually the shutter is too slow, or the camera lost focus. Raise your shutter speed and use continuous autofocus.
Related: Wildlife Photography for Beginners