
You do not need a big camera or a trip to a faraway park to start wildlife photography. You need a little patience, a few simple rules about your camera, and the habit of looking carefully. I started with common birds near water. I made many mistakes. This guide is what I wish someone had told me at the start.
Step 1: Start with what is near you
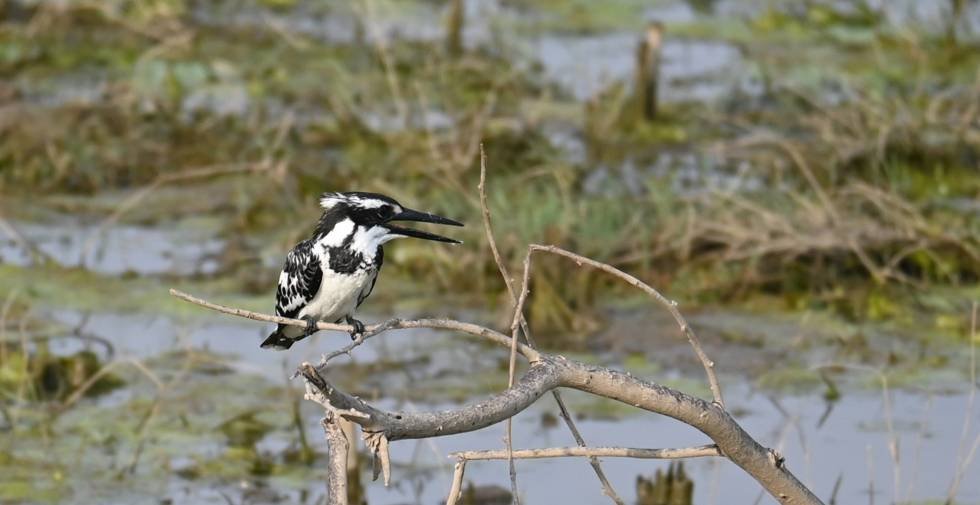
Do not wait for a tiger. Your first subjects can be crows, egrets, lapwings, pigeons or squirrels. Go to a pond, a park or a field near your home. Learn how they move. Learn where they sit. You will take a hundred bad pictures, and that is how you learn.
Wetlands are the best place to start. The birds are big, the background is simple, and they stay in the open. Read Bird Watching in India: Where to Go and When.
Step 2: Learn three camera settings
Modern cameras have hundreds of buttons. For wildlife, three ideas matter more than all of them.
| Setting | What it does | What to do |
|---|---|---|
| Shutter speed | How fast the camera takes the picture. It decides if movement is sharp or blurry. | Use 1/1000 of a second or faster for most wildlife. Faster for flying birds. |
| Focus mode | How the camera follows the animal. | Use continuous autofocus, and tracking if your camera has it. |
| ISO | How sensitive the camera is to light. | Let it change by itself (Auto ISO). A slightly noisy sharp photo is better than a clean blurry one. |
If you only remember one thing, remember this: fast shutter speed. It saves more wildlife pictures than any other setting.
Step 3: Get a long lens, but not a huge one
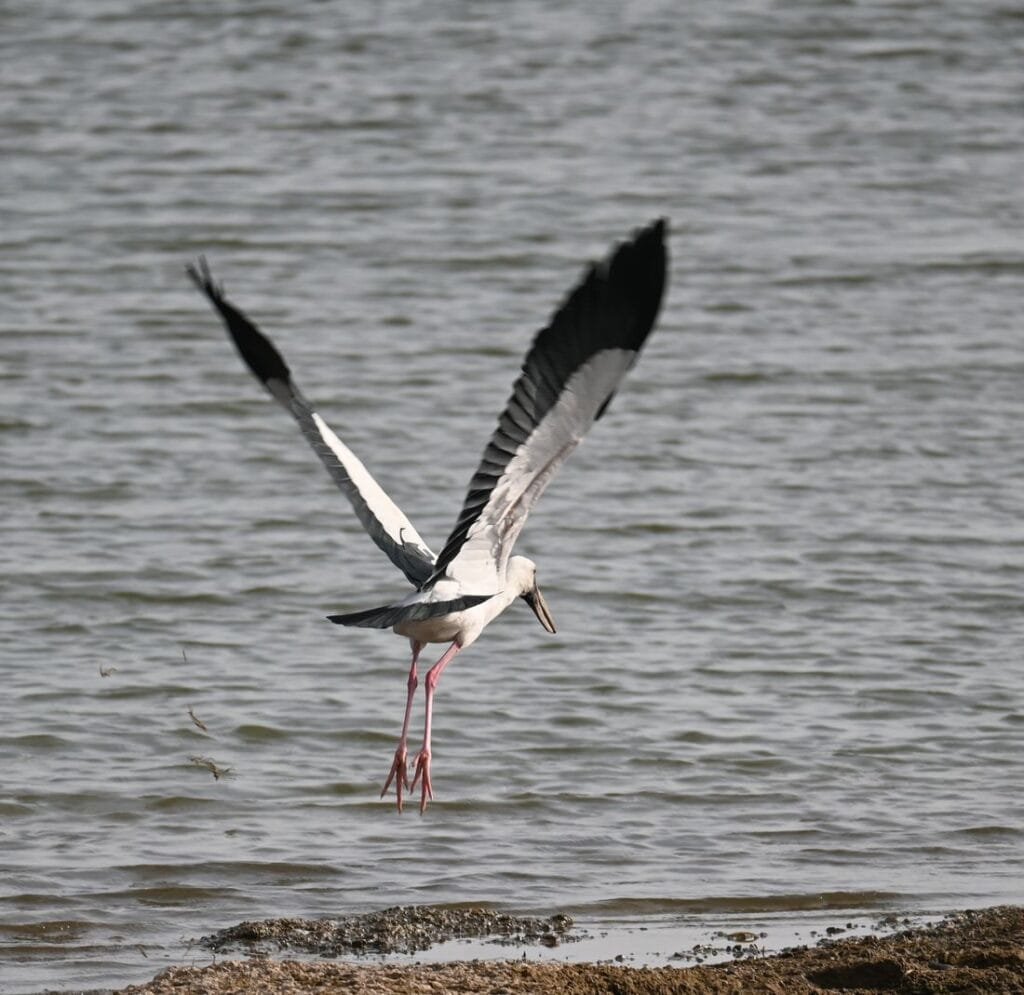
Animals are shy, so a long lens helps you stay far away and still fill the frame. You do not need the longest lens in the world. A reasonable zoom is enough to start. What matters more is how you use it.
Step 4: Learn fieldcraft
Fieldcraft is how you behave around animals. It matters more than your camera.
- Go early. The first two hours after sunrise give soft light and active animals.
- Walk slowly and stop often. Animals react to sudden movement.
- Wear dull colours. Brown, green and grey blend in.
- Be quiet. Noise ends sightings.
- Sit and wait. Let the animal come to you. Do not chase it.
- Get low. Shooting at the level of the animal makes the picture feel like a portrait.
Step 5: Look at the picture, not just the animal
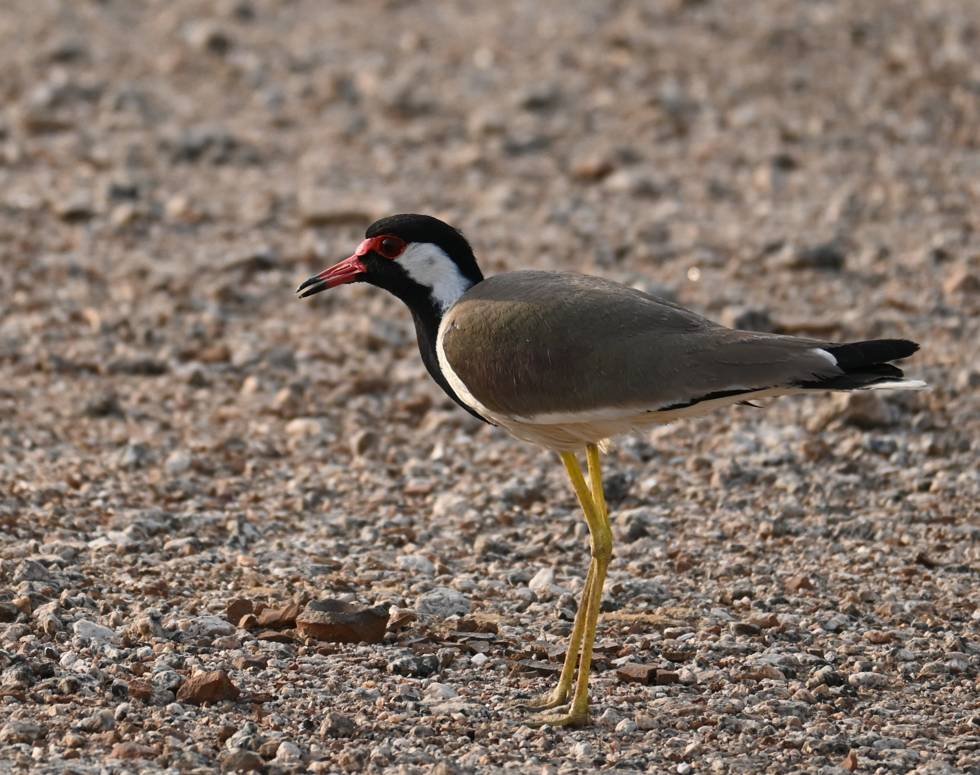
- Eyes first. If the eyes are sharp, the picture works.
- Give it room. Leave space in the direction the animal is moving.
- Check the background. A messy branch behind the head spoils a good animal.
- Show the place. Sometimes a small animal in a big landscape tells a better story.
Step 6: Be kind to the animal
This is the most important step. A good photograph is never worth upsetting an animal. Keep your distance. Never use flash. Never use recorded calls. Never go near a nest. Never chase. If an animal changes its behaviour because of you, you are too close.
Step 7: Go on a safari
When you are ready for bigger animals, a safari gives you the chance. Read Your First Tiger Safari in India, Jungle Safari Rules in India and What to Wear and Pack for a Jungle Safari before you go.
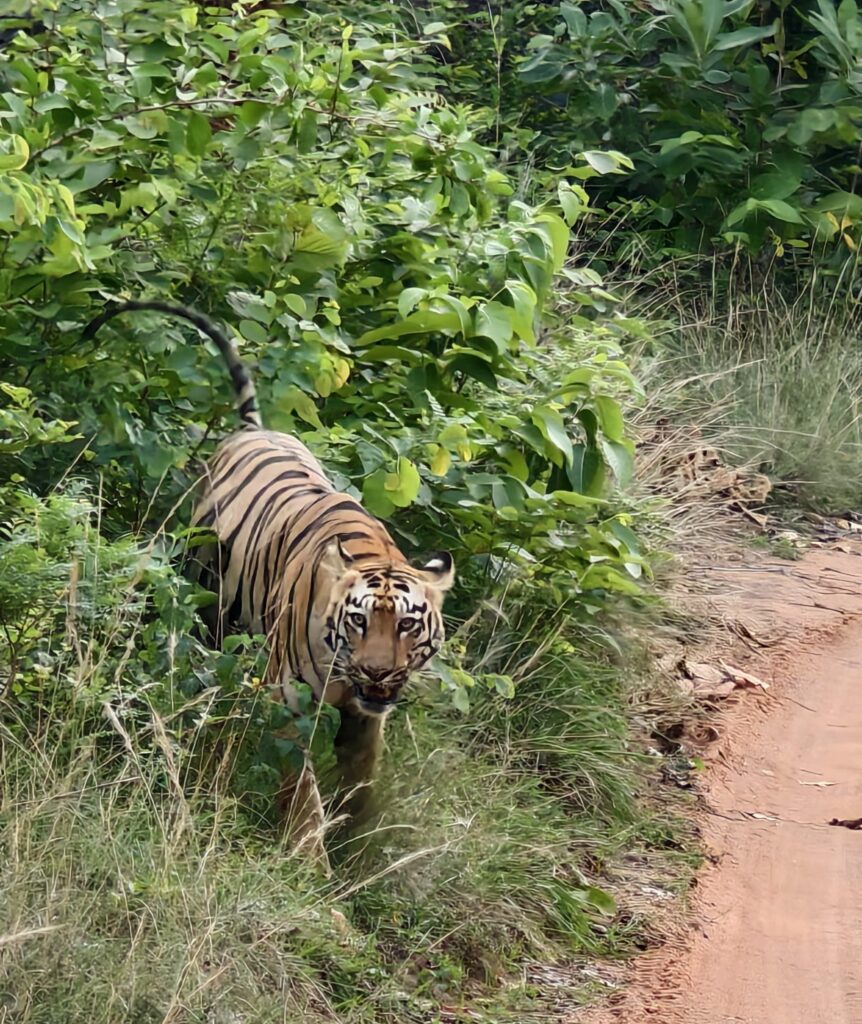
For tigers, see Tiger Photography in India. For birds, see Bird Photography for Beginners and Bird in Flight Photography.
Step 8: Look at your pictures and learn
After each trip, go through your photos and be honest. Why is this one blurry? Was the shutter too slow? Was the focus on the branch and not the eye? Was the bird too far? Each bad picture tells you something. Keep the good ones. Delete the rest. Next time, try one new thing.
A simple plan for your first month
- Week 1: Go to a pond or a park and watch birds. Take no photos. Just look.
- Week 2: Take photos, but only one bird. Learn how it moves.
- Week 3: Practise a fast shutter speed. Check your pictures for sharpness.
- Week 4: Try low angles and a clean background. Pick your best five.
Questions people ask
What camera do I need for wildlife photography?
Any camera that can change lenses, track focus and take fast bursts. A long lens matters more than a new camera body.
What is the best shutter speed for wildlife?
Start at 1/1000 of a second, and go faster for birds in flight.
How do I get closer to animals?
Be quiet and patient, and use a long lens. Waiting works better than chasing.
Where should a beginner start?
At a wetland near you. Birds there are big, easy to see and used to people at a distance.