
Bird photography looks like a gear problem. You see someone with a huge lens and think, I need that. But after a few years, I can tell you it is mostly a patience problem. And a few settings you can learn in one weekend.
This guide is for beginners. It covers what to set on your camera, how to get close without scaring the bird, what to do about light, and the mistakes to avoid. The photos are ours, from Bhigwan, Jawai and other places where we have watched birds.
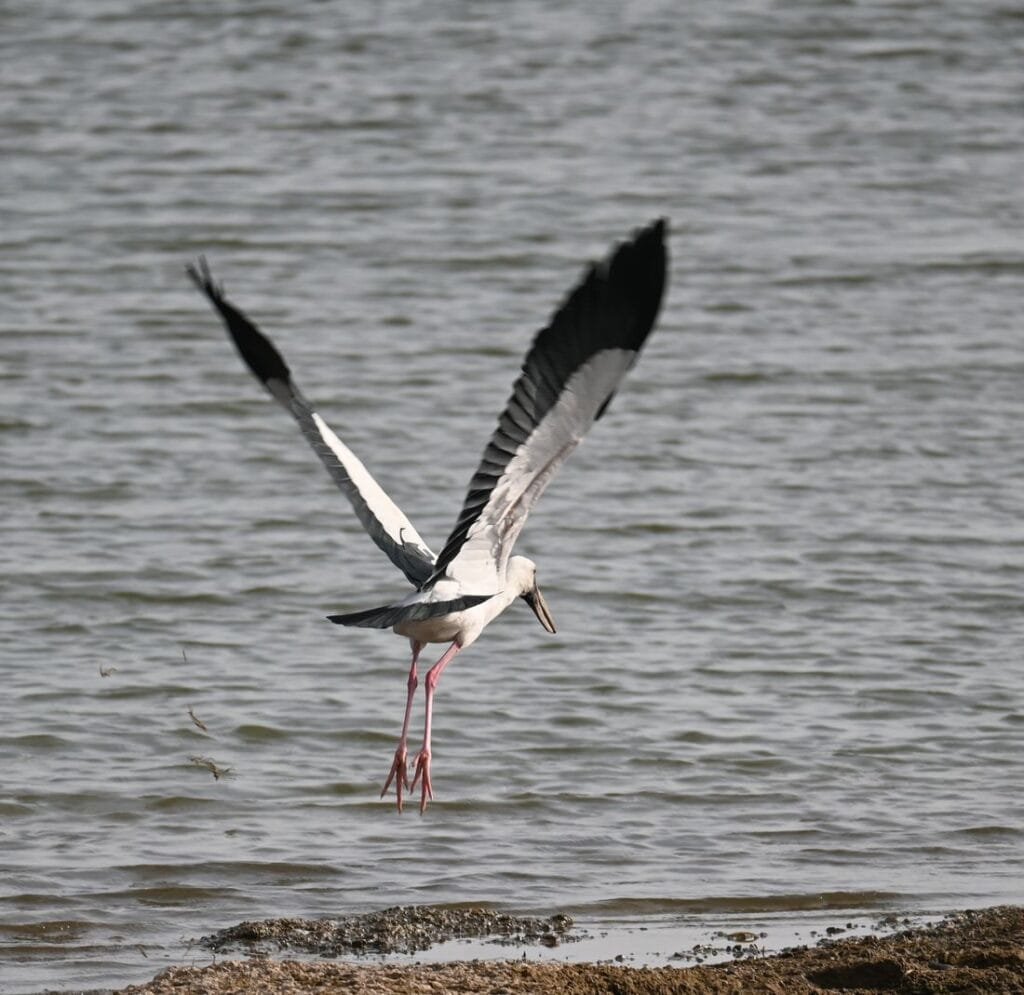
1. Start with the bird, not the camera
The best thing a beginner can do is learn one bird well. Pick a bird that lives in the same place every day, sits still, and does not mind people. You will learn more from one morning with a lapwing than from a week of chasing a rare bird you see for ten seconds.
Learn one bird well before you chase a rare one.
Good first birds in India are the common ones. Lapwings, egrets, herons, kingfishers and storks. You can find them near any pond, field or dam. Start with the red-wattled lapwing or the wading birds in Birds of Bhigwan.
2. The three camera settings that matter
You do not need to understand your whole camera. Three things decide most bird photographs: shutter speed, focus mode and exposure.
| Situation | Shutter speed | Why |
|---|---|---|
| Bird perched and still | 1/1000 or faster | Birds fidget, and a long lens makes every shake bigger. |
| Bird walking or feeding | 1/1000 to 1/2000 | Heads and beaks move fast even when the body is slow. |
| Bird in flight | 1/2000 or faster | Wings move much faster than the bird. Raise your ISO to get the speed. |
- Set the shutter speed first. Use shutter priority, or manual with Auto ISO. A sharp, slightly noisy photo is better than a clean, blurry one.
- Use continuous autofocus. Birds move. Single-shot focus will miss.
- Turn on bird or eye tracking if your camera has it. It saves many frames.
- Shoot in bursts. One press, a few frames. Keep the best one.
- Watch white and black birds. A white egret on a dark background can lose its detail. Lower the exposure a little.
3. Get low, get still, get close
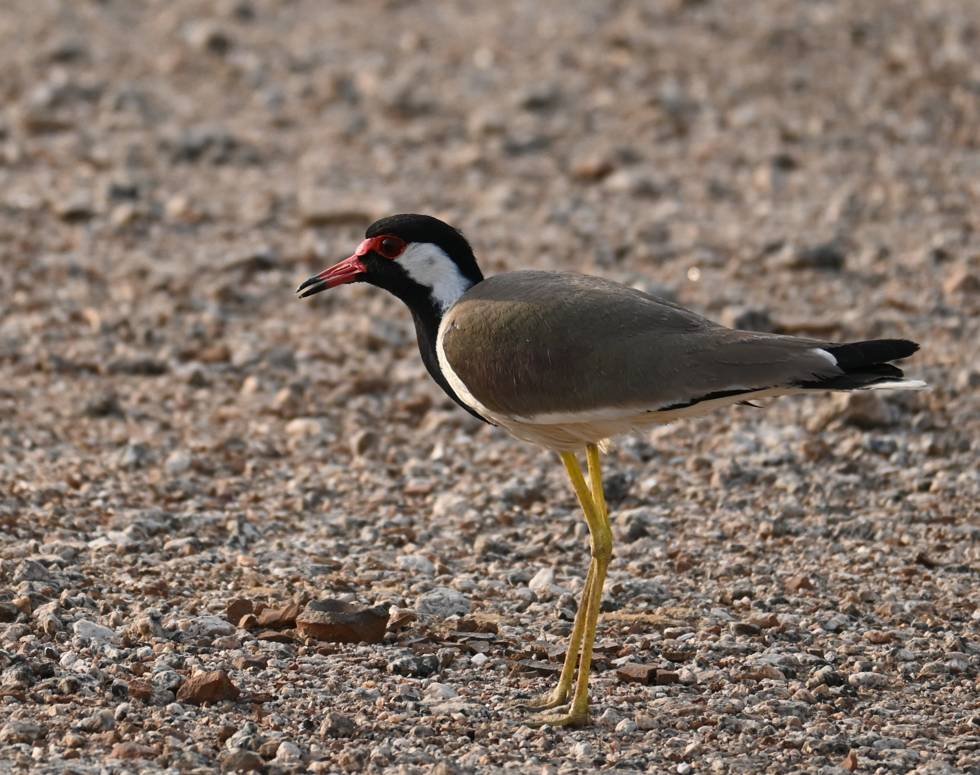
If you shoot from standing height, you look down on a bird. If you shoot at the bird’s level, you look at it. The picture feels different. Kneel. Sit. Lie down if the ground allows. For a ground bird like a lapwing, this is the biggest improvement you can make.
And then there is fieldcraft. These are the habits that put you closer to birds without scaring them.
- Walk slowly, and stop often. Birds react to sudden movement. They also dislike being stared at.
- Wear dull colours. Brown, green and grey are good. Skip white and bright colours.
- Let the bird come to you. Sit near a waterhole or a perch and wait. When you stop moving, birds relax.
- Use the vehicle as a hide. In parks and near water, many birds tolerate a jeep or a boat much better than a person on foot.
4. Fill the frame, or say why you did not
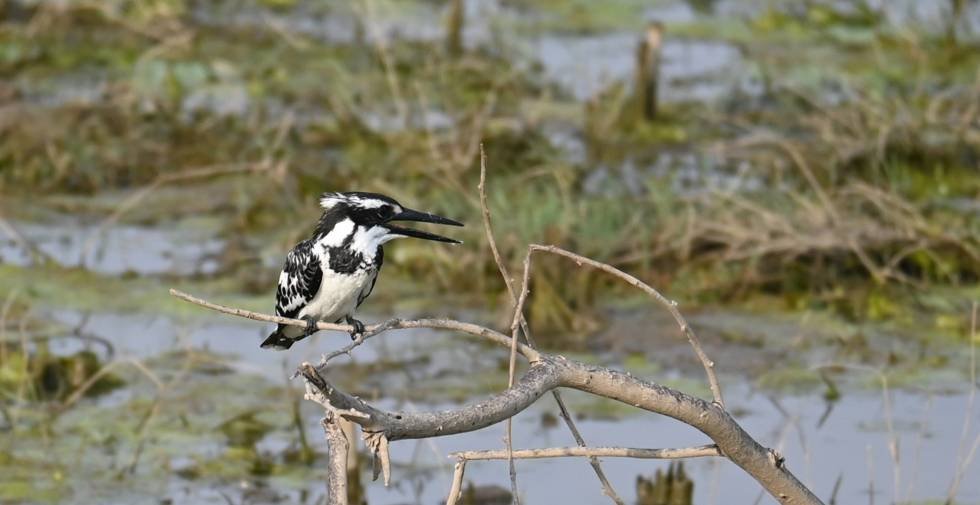
A beginner often crops too tight, or leaves the bird as a tiny speck. Both are fine if you chose them. Fill the frame when the bird is the story. Step back when the place is the story. Just decide before you press the button.
5. Light, and what to do about it
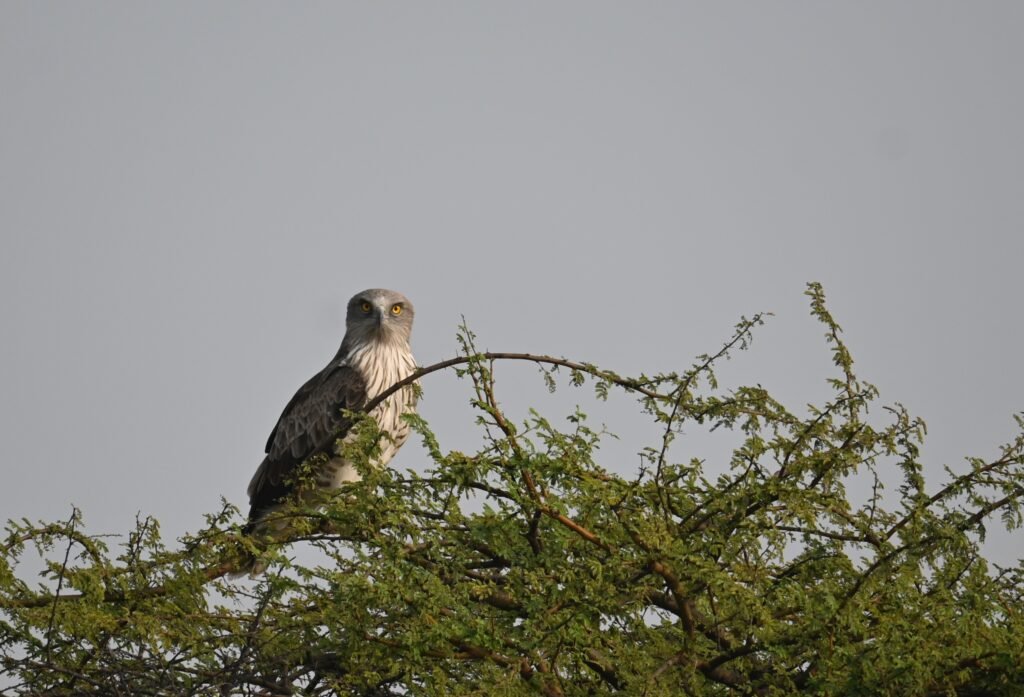
- Go early or late. Early morning and late afternoon give soft, warm light. Midday sun is harsh.
- Keep the sun behind you. It will light the face of the bird.
- Bright sky, dark bird. The camera will make the bird a silhouette. Raise your exposure.
- Do not hate cloudy days. The light is even and the colours stay rich.
6. Moments beat poses
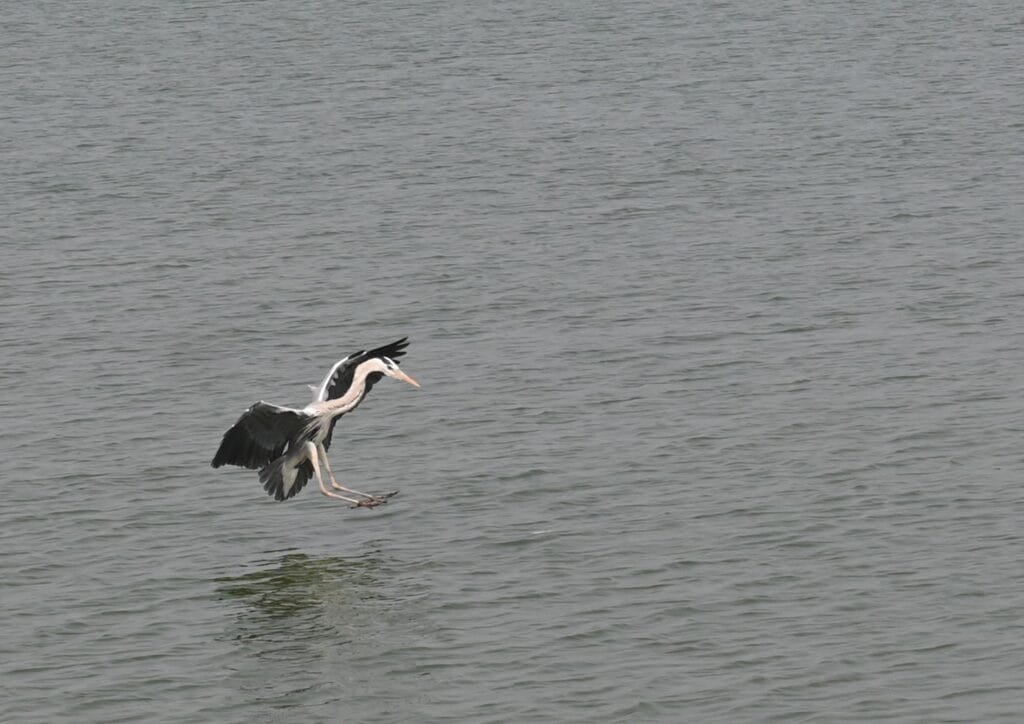
A bird sitting on a branch is a record. A bird landing, feeding, calling or taking off is a photograph. Watch for the signs. A bird crouches before it jumps. It stretches before it calls. Keep the camera up and your finger ready.
7. Mistakes to avoid
- Too slow a shutter. This ruins more bird photos than anything else. Do not shoot at 1/250 and hope.
- Focusing on the branch instead of the eye.
- Chasing the bird. It will leave. Sit and wait.
- Ignoring the background. A bright patch behind the head spoils a good bird.
- Shooting only the bird. Take some pictures of the place too. They give your photos a story.
8. Be kind to the birds
- Never go near a nest. Ground nests, like the lapwing’s, are very easy to step on.
- Do not use recorded calls to bring a bird closer. It stresses the bird and keeps it from eating or breeding.
- Never use flash on birds, especially owls.
- Keep to the path and keep your distance. If a bird stops feeding or starts calling at you, back away.
- No picture is worth a bird leaving its nest.
Where to practise
Start where birds are easy to find and used to visitors. Bhigwan is great for waders and winter visitors. Jawai has wetlands full of birds. If you are on a tiger safari, Bird Watching at Bandhavgarh shows you what to look for between sightings. And our tiger photography guide is for when you are ready for bigger animals.
Questions people ask
What camera do I need for bird photography?
Any camera that can change lenses, track focus and shoot bursts will do. A long lens matters more than a new body, because birds are small and shy.
What shutter speed should I use for birds?
Start at 1/1000 for perched birds and 1/2000 or faster for flying birds. Raise ISO if you need the speed.
How do I get closer to birds?
Move slowly, wear dull colours, stop often, and let the bird come to you. Waiting near a perch or a waterhole works better than chasing.
When is the best time for bird photography?
Early morning and late afternoon, when the light is soft and birds are active.
Related: Best Nature Bird Photography
Related: Peacock vs Peahen: How to Tell the Indian Peafowl Apart
Related: Bird Photography Tours in India
Related: Bhigwan Bird Sanctuary: Best Time to Visit
Related: Bird in Flight Photography: Simple Tips for Sharp Pictures
Related: Wildlife Photography for Beginners
Related: Golden Hour Wildlife Photography